
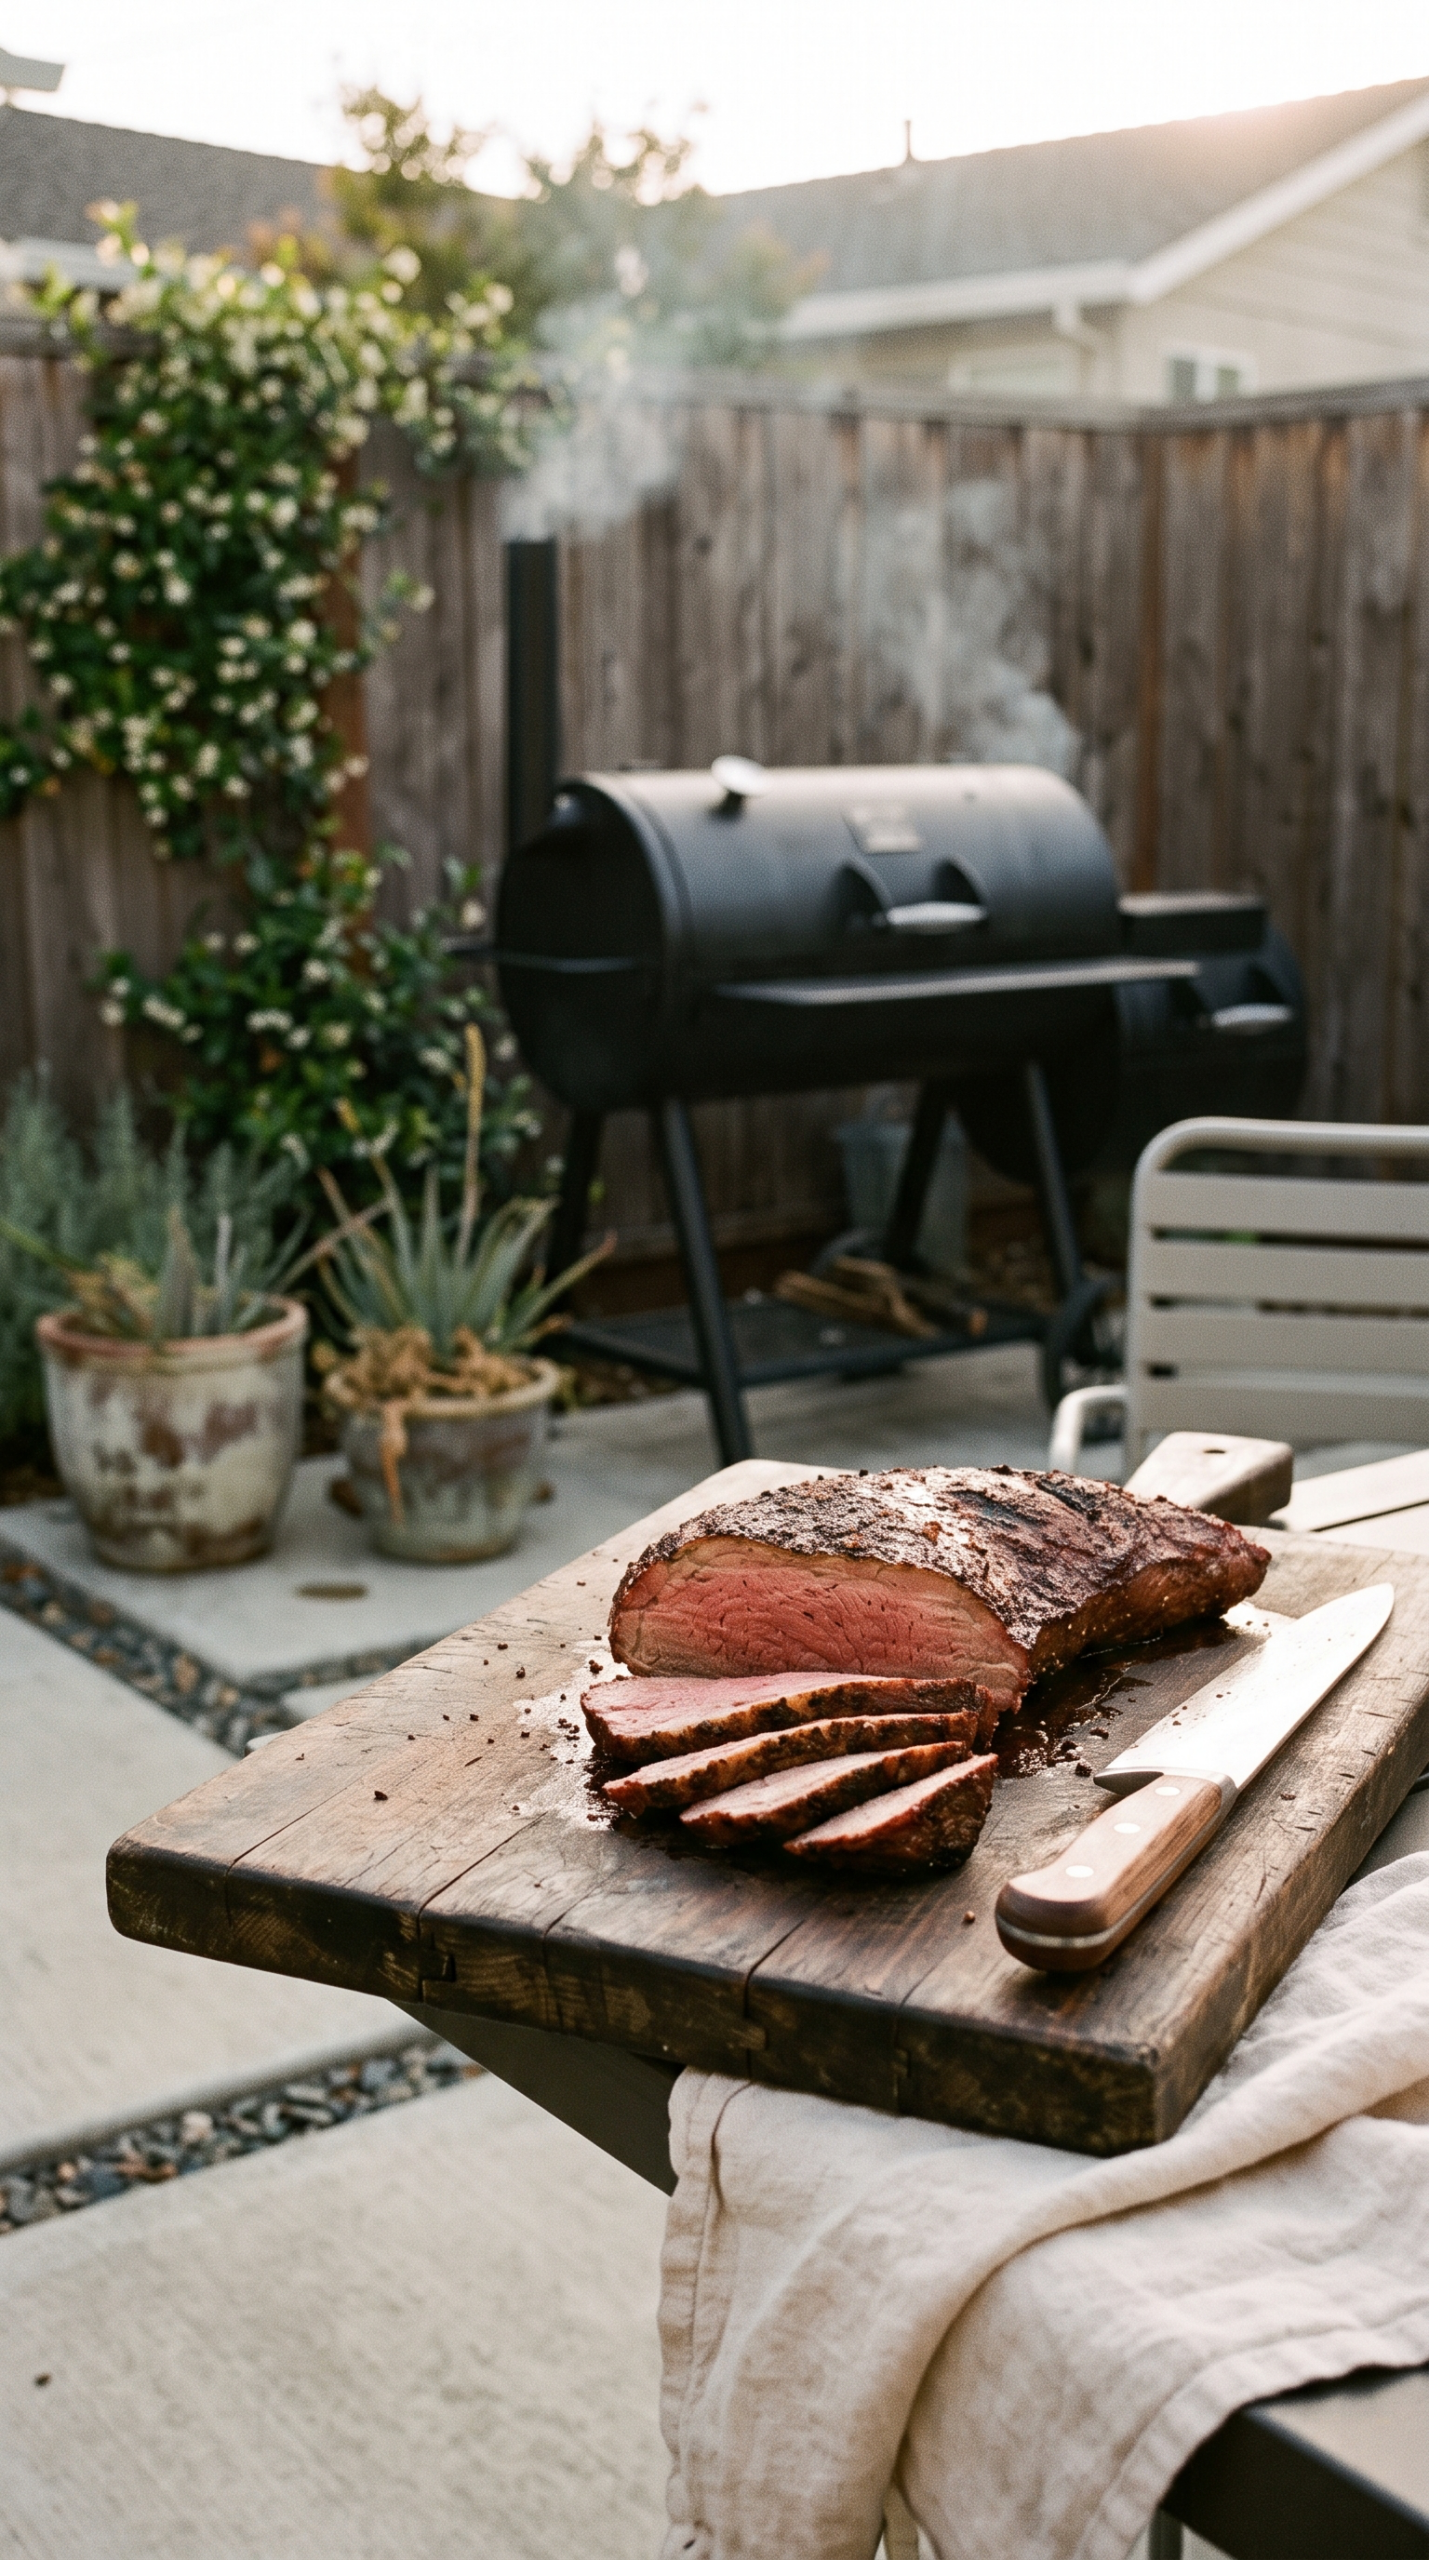
Let’s talk about the unsung hero of the grill: the tri-tip roast. If you haven’t ventured beyond brisket or ribeye, you’re missing out. This cut, sometimes called a Santa Maria steak, is packed with beefy flavor, takes on smoke beautifully, and is surprisingly forgiving. Today, we’re making a fantastic smoked tri-tip that’ll make you wonder why you waited so long.
I usually use my Masterbuilt charcoal smoker for this, but honestly, any smoker will do the job. Electric, pellet, offset – it doesn’t matter. The principles are the same. We’re going for a low-and-slow smoke followed by a hot, fast sear. This “reverse sear” method is a game-changer for a lot of cuts, but it truly shines with tri-tip.
Prepping Your Tri-Tip for the Smoker
First things first, get your hands on a good tri-tip. They’re usually around two to three pounds. Look for good marbling, which means more flavor and tenderness. Don’t be afraid to ask your butcher for one. They often have them in the back, even if they aren’t on display.
Once you have it home, pull it out of the packaging and pat it completely dry with paper towels. This helps the rub stick and encourages a better crust later. Don’t skip this step. Seriously.
For seasoning, I keep it simple. Real simple. A good coarse sea salt, fresh cracked black pepper, and maybe some garlic powder. That’s it. You don’t need a fancy, twenty-ingredient rub here. The meat’s flavor is the star. Some folks like to use a binder like mustard or olive oil, but I find just patting it dry and then applying the rub generously works perfectly. Coat all sides. Get in there.
Low and Slow: The Smoke Phase
Now, let’s get that smoker ready. You want to set it to a steady 225°F (107°C). Consistency is key here. If your smoker fluctuates wildly, try to keep it as close to 225°F as possible. For wood, I lean towards oak or hickory with beef. They give a nice, robust smoke flavor that complements the tri-tip perfectly. Cherry or apple are fine too if that’s what you have on hand, but for beef, I like something a bit stronger.
Place the seasoned tri-tip directly on the grates. Close the lid and let the smoke work its magic. We’re looking for an internal temperature of about 135°F (57°C). For a two to three-pound roast, this usually takes about an hour, maybe an hour and a half. Every piece of meat is different, and every smoker is different, so don’t just set a timer and walk away. Use a reliable meat thermometer. It’s your best friend in the kitchen (or backyard, in this case). If you don’t have one, I highly recommend picking up a good digital meat thermometer. It takes all the guesswork out of cooking meat.
When it hits 135°F, pull the tri-tip off the smoker. Don’t touch it. Resist the urge to cut into it. Put it on a cutting board or a plate and cover it loosely with foil. Now it’s time to crank up the heat.
The Searing Secret to Smoked Tri-Tip
This is where the magic happens. While your tri-tip rests, you need to get something screaming hot. You can do this by cranking up your smoker’s temperature, using a separate hot grill, or even a cast iron skillet on the stove. I usually just remove my tri-tip from the smoker, remove the wood chips, open the vents wide, and let the charcoal get ripping hot. Some people move it to a gas grill set to high heat. You do you.
Once your cooking surface is blazing hot, put the tri-tip back on. Sear it for about four minutes per side. You’re looking for a beautiful, dark, crusty bark. This is where all that flavor and texture really develop.
Keep an eye on the internal temperature during this searing phase. You want to pull the tri-tip off when it hits about 145°F (63°C). Now, I know what some of you are thinking: “Randall, 145°F? That’s medium! I like my beef medium-rare!” Hear me out. For tri-tip, medium is actually better. This temperature allows the fat within the cut to render down properly, making the meat incredibly tender and juicy. At medium-rare, some of that intramuscular fat can still be a bit chewy. Trust me, at 145°F, you’re going to have a much better experience. Think of it as optimal fat rendering for maximum flavor and tenderness. There’s some interesting science behind how cooking temperatures affect the structure of meat, making some cuts better at slightly higher temps. You can dig into it if you’re curious.
Once it hits 145°F, pull it off the heat immediately. Do not overcook it now. You’ve come too far.
The Final Steps: Rest and Slice
This is arguably the most important step after cooking. Let the tri-tip rest for at least 10-15 minutes, again, loosely tented with foil. This allows the juices to redistribute throughout the meat, keeping it moist and tender. If you cut into it too soon, all those precious juices will run out onto your cutting board, and you’ll end up with dry meat. Be patient. It’s worth it.
Finally, slicing. Tri-tip has a tricky grain structure. It actually has two distinct grain directions that meet in the middle. If you slice with the grain, your meat will be tough and stringy. You need to slice against the grain for maximum tenderness. Take a good look at your cooked tri-tip. You’ll see the muscle fibers running in one direction on one side, and then they’ll change direction. Cut the tri-tip in half at that junction. Then, slice each piece against its respective grain. Slice it fairly thin, about a quarter-inch thick. This ensures every bite is tender and delicious.
Serve it up with some roasted root vegetables, a big salad, or just on its own. This smoked tri-tip is proof that eating primal doesn’t mean sacrificing flavor or fun. It’s a simple, honest cut of beef, cooked right. Plus, red meat, prepared well, is a fantastic part of an ancestral diet. It’s packed with nutrients, after all.
Primal Takeaway
Don’t fear the smoker. Get a tri-tip, cook it low and slow to 135°F, sear it hot to 145°F, let it rest, and slice against the grain for a seriously tasty, primal meal.
Leave a Reply