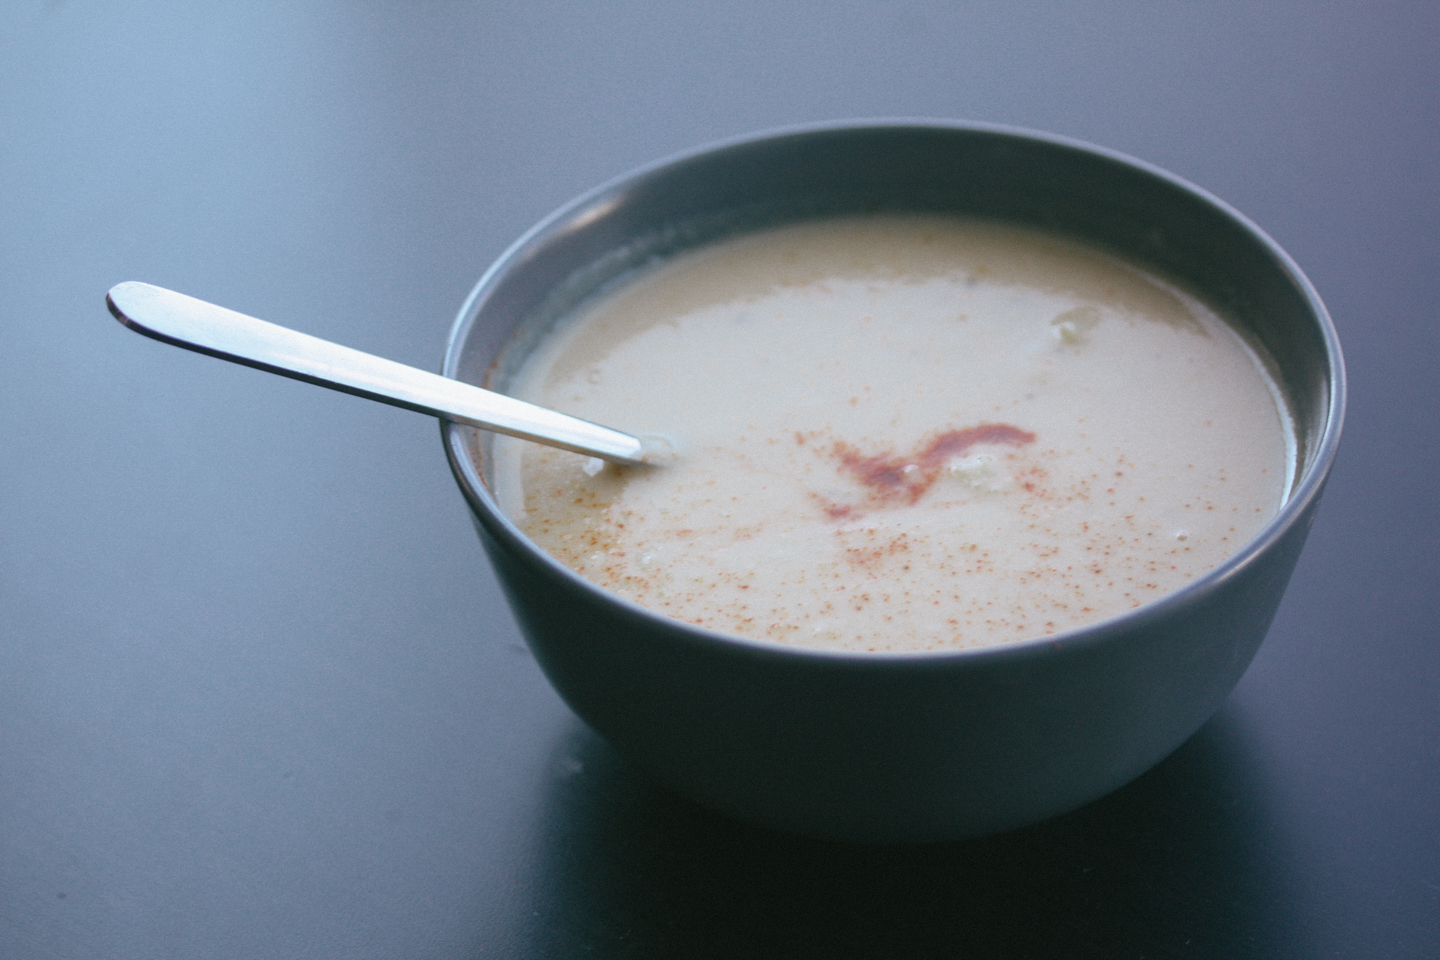
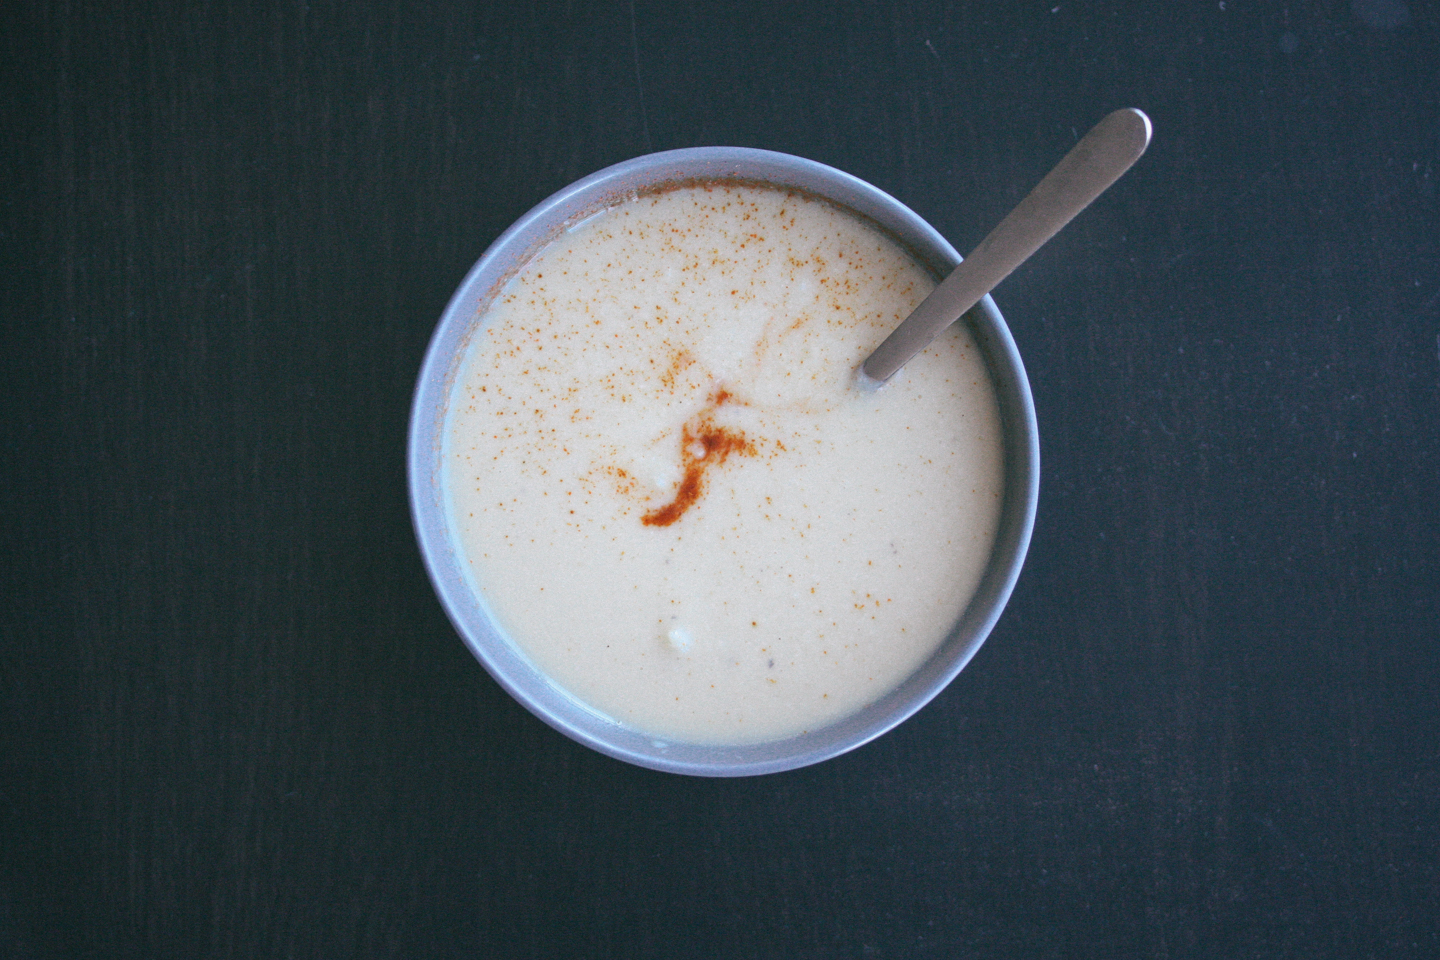
To be honest I’m not sure how I first came across this Martha Stewart recipe for cauliflower cheddar soup. I know we wanted to try out a simple recipe with cauliflower and cheddar and we just came across this one and now we make it pretty much every week. Our daughter loves it so much too that my wife and I normally double the recipe and freeze a bunch of extra containers for our little one and for us.
I love this recipe first because it’s super simple. Second because it’s a great way to get grass fed dairy into your diet. We use a Kerrygold grass fed butter and a Kerrygold grass fed white sharp cheddar cheese.

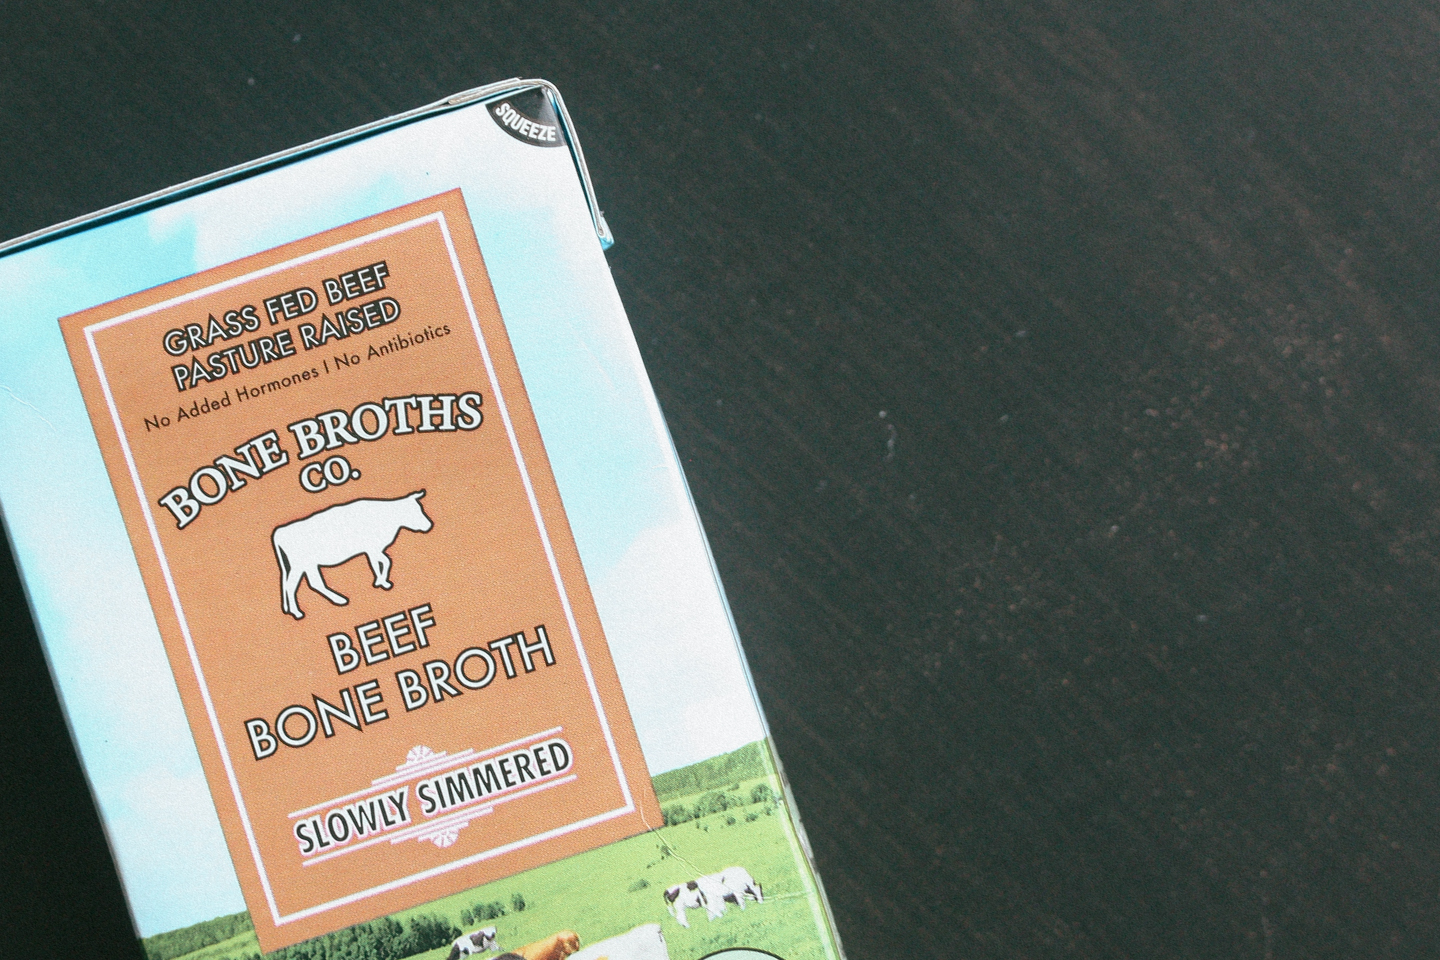
Third is that you can use some bone broth as the recipe called for and man after all that this is one nutritious soup. Fourth is that I can get all these ingredients at Costco (minus the bone broth. You can get that here).
It makes it super easy to plan for this meal because it’s really no planning at all!
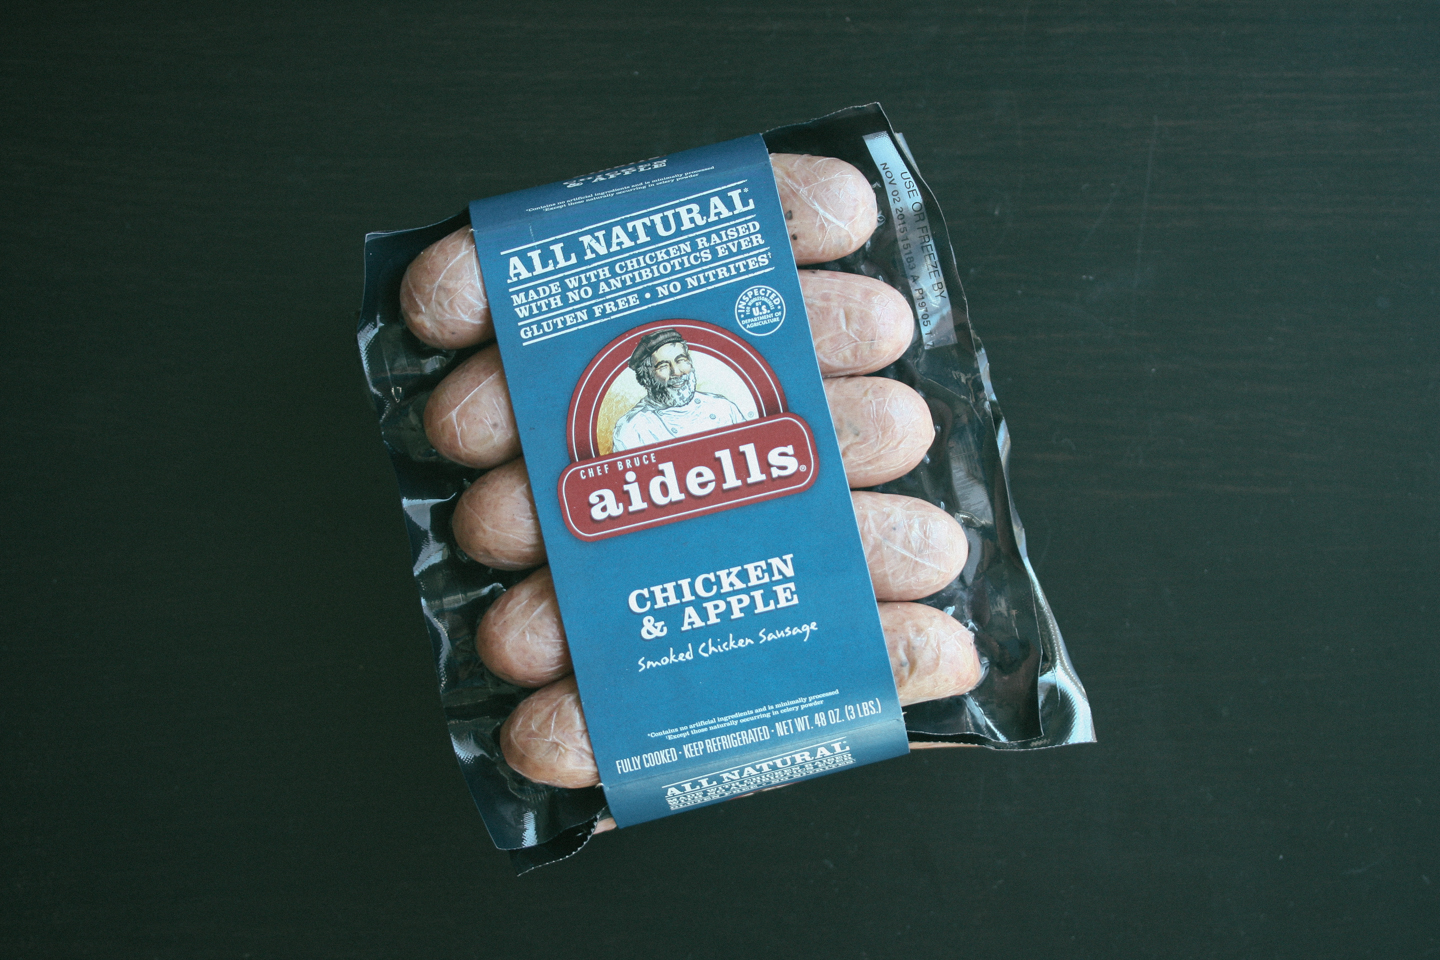
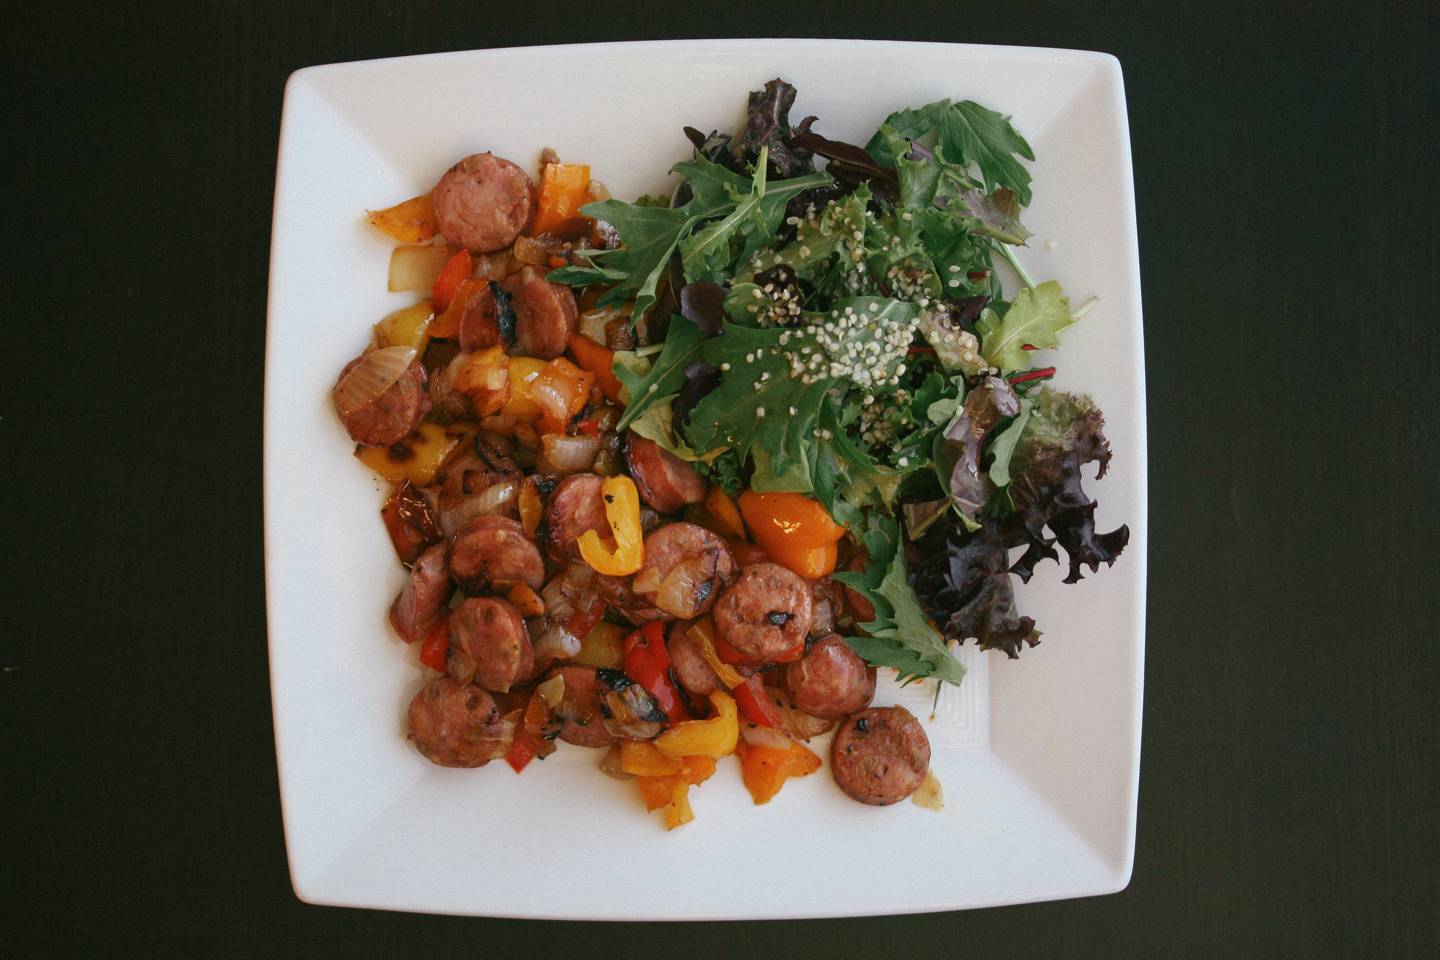
Not only is this soup simple – it tastes fantastic. We normally cook up some Aidells sausages also when we do this soup just to get some more protein into the meal. My wife likes to dip the sausage in the soup as well, and I’ll admit I copy her from time to time and it is indeed tasty.
- 3 tablespoons Kerrygold butter
- 1 yellow onion, diced small
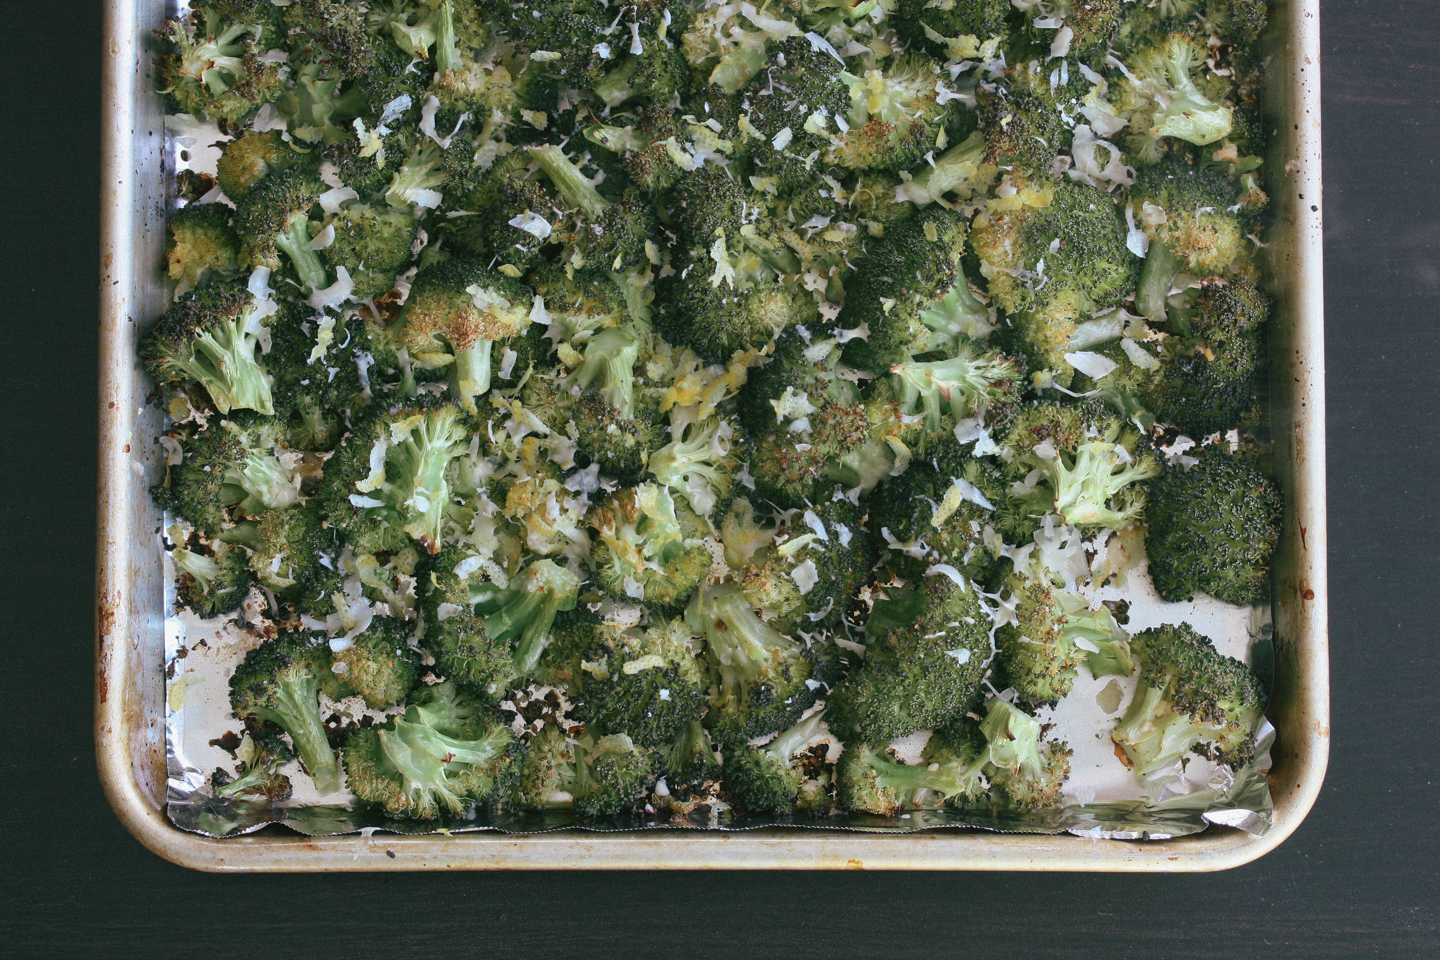
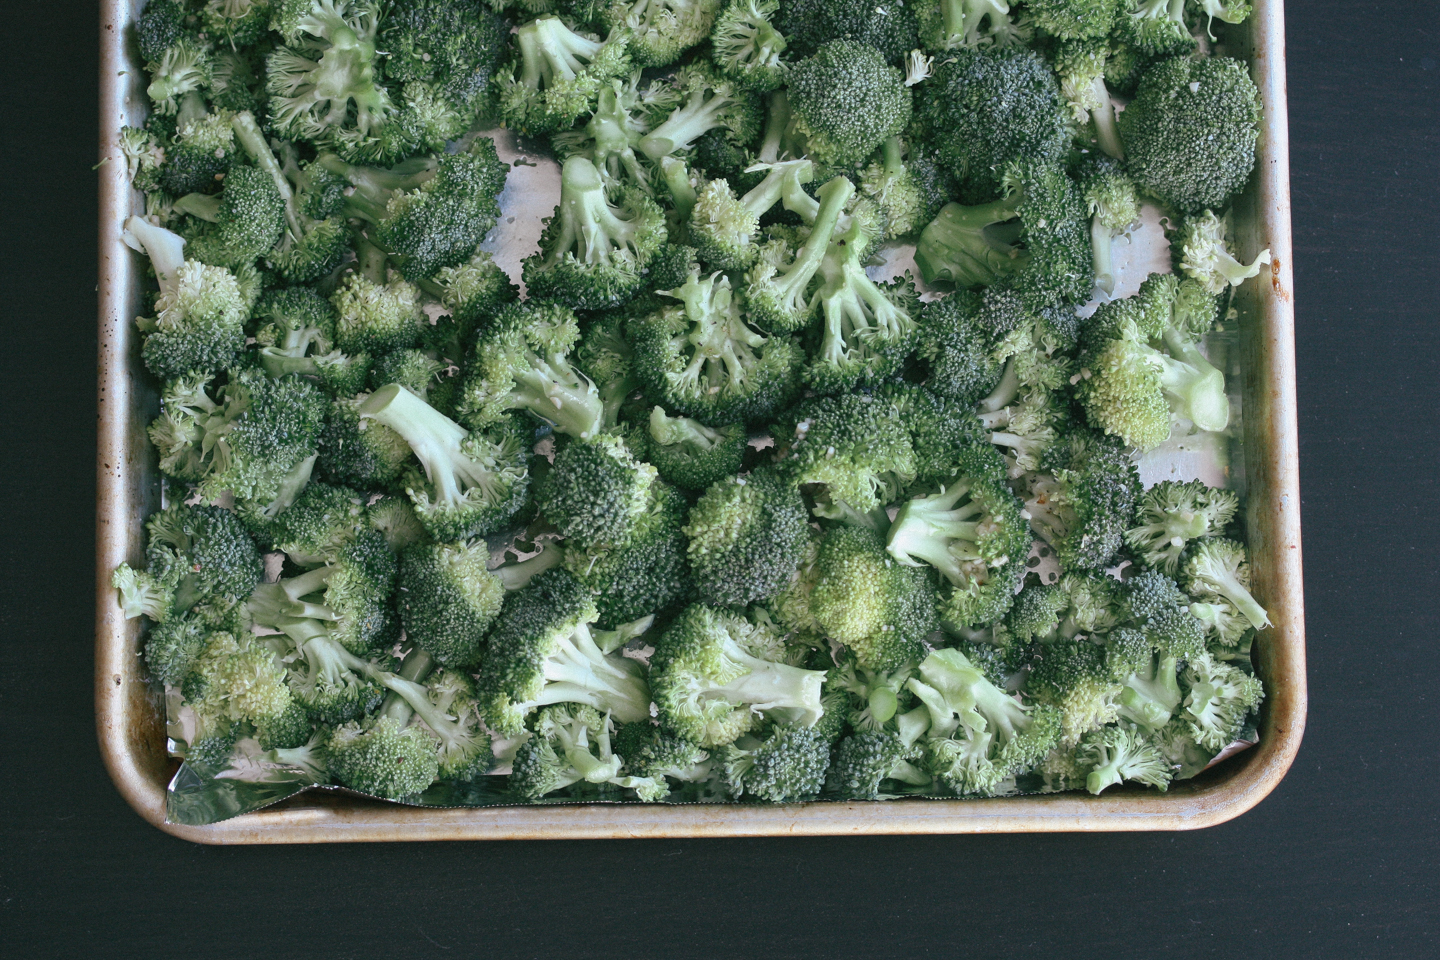
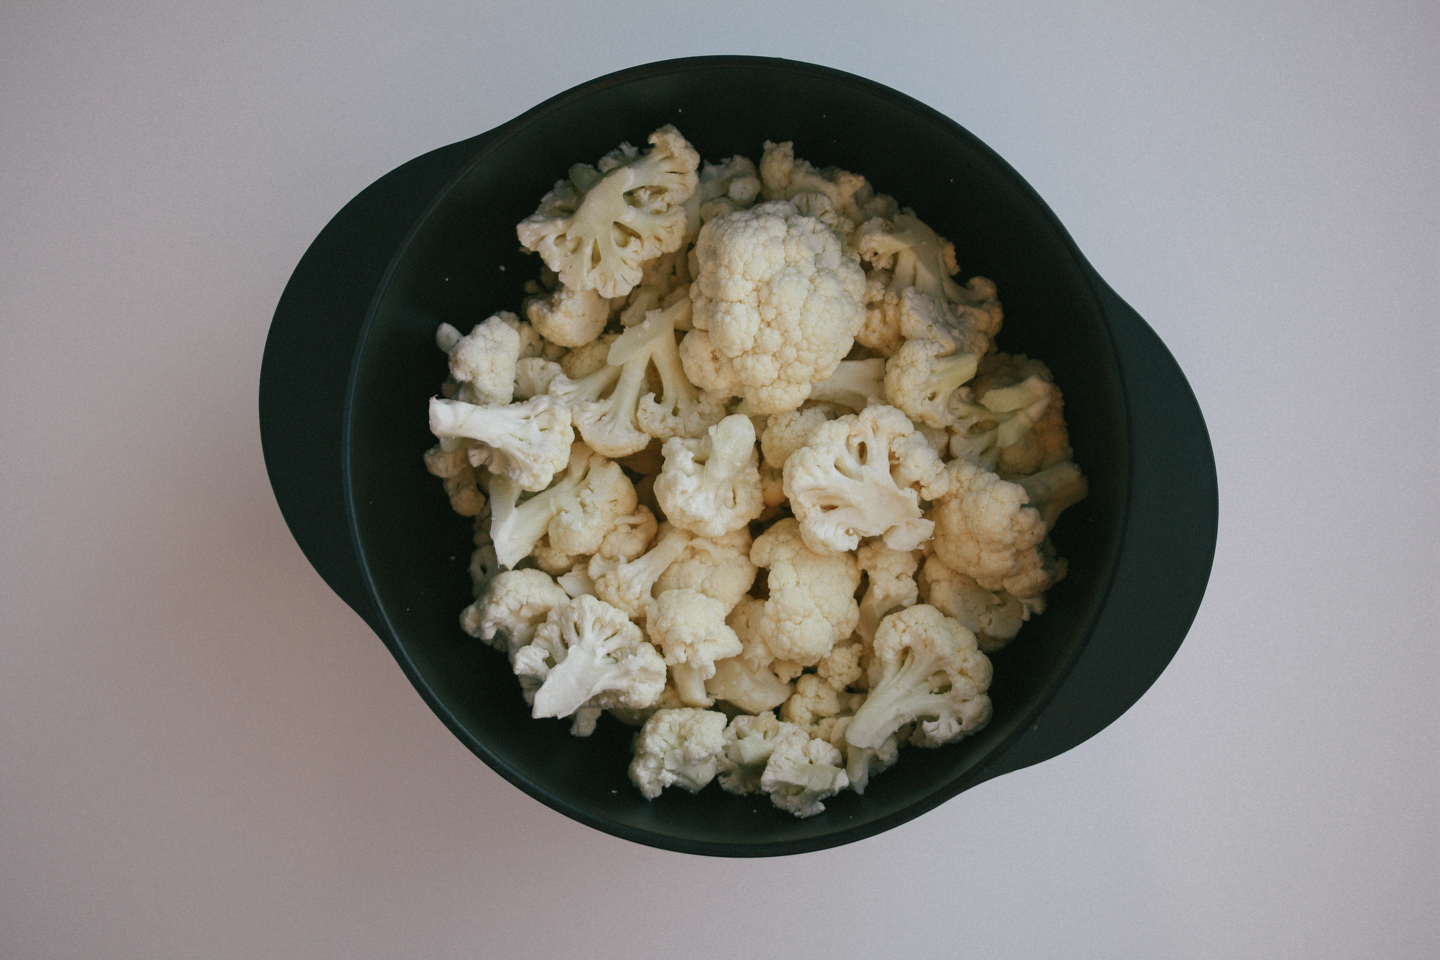
- 2 lbs cauliflower florets, trimmed into smaller pieces
- 4 cups bone broth (or chicken broth)
- 5 1/2 ounces Kerrygold sharp white cheddar, grated (1 1/2 cups)
- Salt and pepper to taste
- Cayenne pepper (optional)
- Melt the butter over medium heat in a large pot. Then add the onion and cook for about 8 minutes while you stir continuously. After 8 minutes then throw in the cauliflower, stirring continuously, and cook for 12 minutes or until it starts to brown. After that, add the broth and 1/2 cup water and bring to a boil. After it boils turn down to a simmer for about 20 minutes.
- While this is going you can grate the cheese.
- After the 20 minutes use an immersion blender and puree the soup directly in the pot. Be careful not to burn yourself. Then add the cheese and stir until it’s melted.
- Add salt and pepper to taste.
- Serve with a pinch of cayenne for a little extra kick. Enjoy!